Johnston Canyon: When I truly learned how hard photography could be
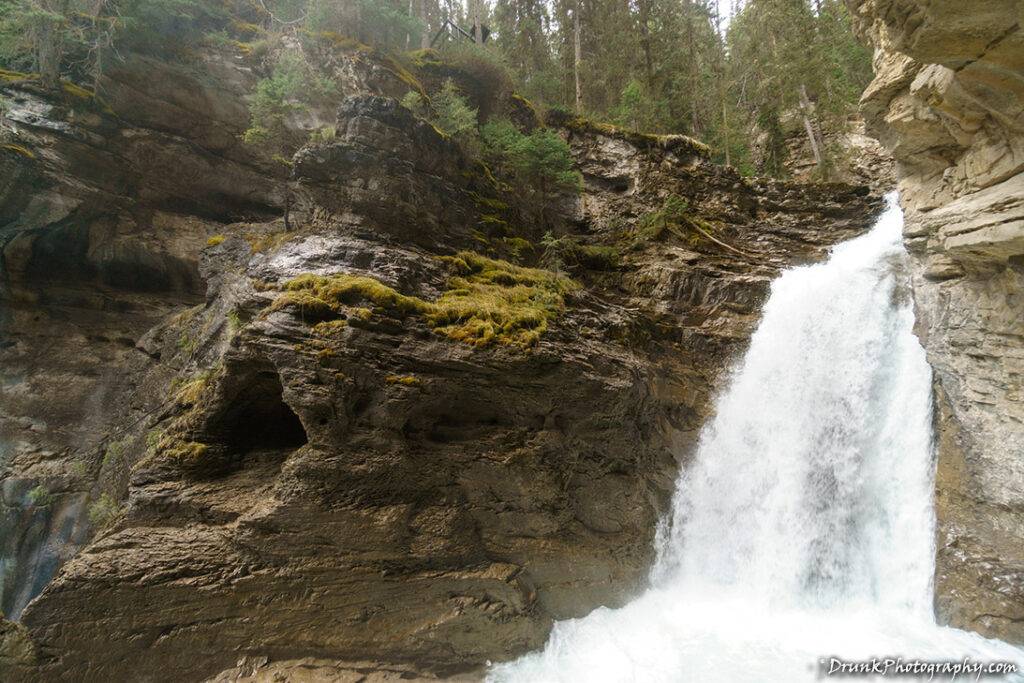
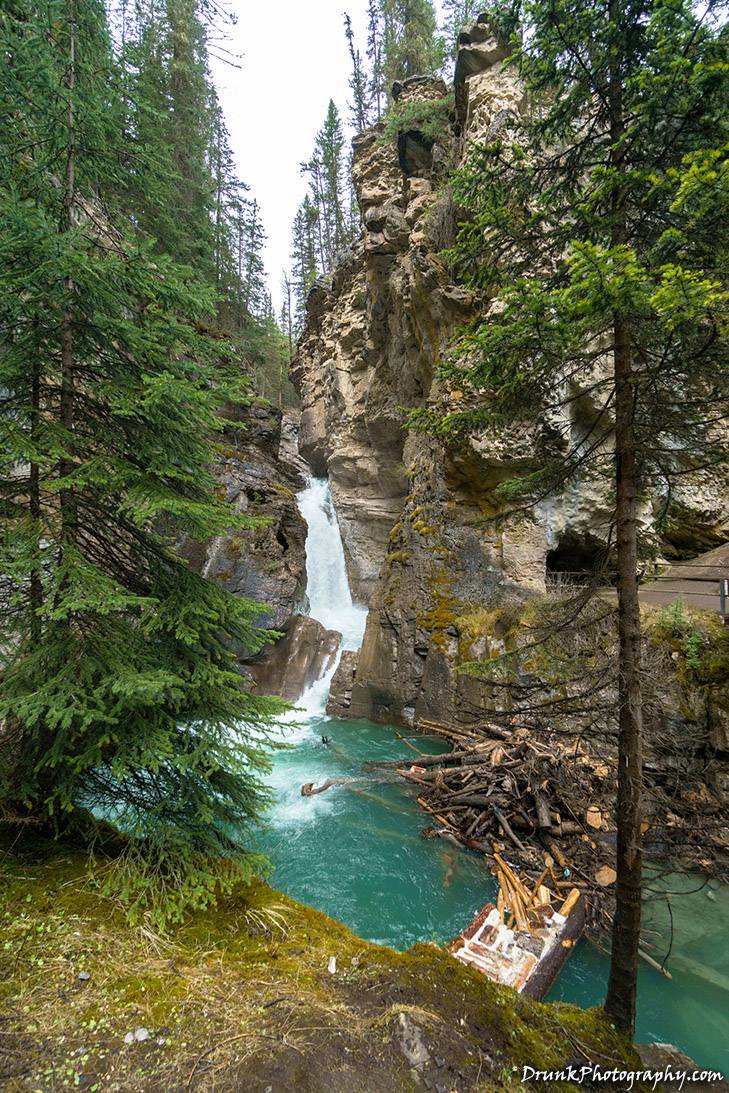
Upclose and personal with the powerful waterfall
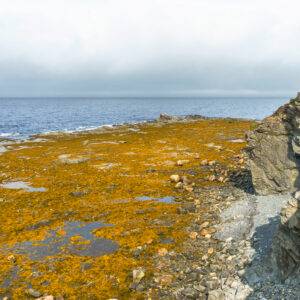
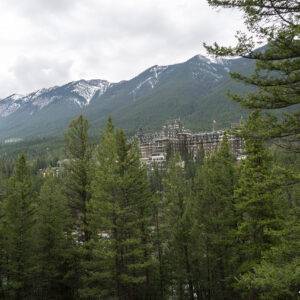
Improvement District No. 9, AB, Canada
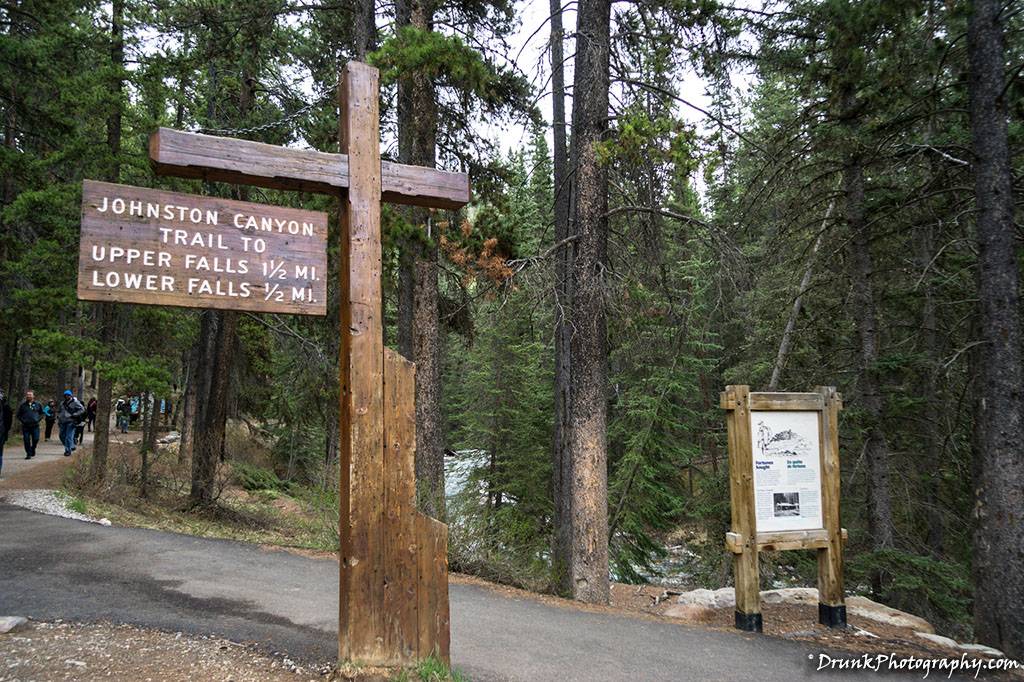
I went to Johnston Canyon and mostly chatted with friends and quickly snapped pics as we chatted while enjoying a tiny hike. Johnston Canyon is a natural beauty, located in Alberta Canada, in the Canadian Rockies. It’s a wildly popular location so you can expect it to be sardine-packed in Summer, but it’s opened all year. There is an upper and lower portion to the canyon, and you walk through the woods after the parking lot, then pick your poison for a tiny hike that even a toddler could pull off, so it’s nothing to fear. I would start with the upper portion, then finish with the lower portion if you have time on your hands, if you arrive and you’re going in there seeing many other people entering at the same time. I went to the upper first, thinking that no one would go there, so that was just under an hour to do that, probably medium difficulty initially, but still a tiny hike through the trees. That was packed with people and pro-photographers with huge tripods, hogging up all of the best views, so that was kind of dead, but I could see why because that has the best overall birds eye, scenic views, scenes that will give you vertigo if you suffer from that. So I guessed wrong that it would be less crowded, and I could have waited them out, but I just took some snaps, enjoyed the views without the camera, and then noticed people I tracked before were all heading back in the lower falls. They walk to the back of the falls, then head back quickly so that meant that it was going to be a clean shot at the lower falls, which it was. So by the time I was done looking from the upper portion, I made my way to the lower portion, and all of the crowds were gone. Sweet! However, I heard later that the upper portion allows you to go even further to the “Ink Pots” which is the REAL SIGHT TO SEE, and a good 5-mile hike, so I’ll get back to that this year, likely. Best to do this place SUPER EARLY!! I went in the afternoon, a big no-no because it was packed. And the next time, I’ll certainly have better gear. That trip was just a quick scouting run if you will.
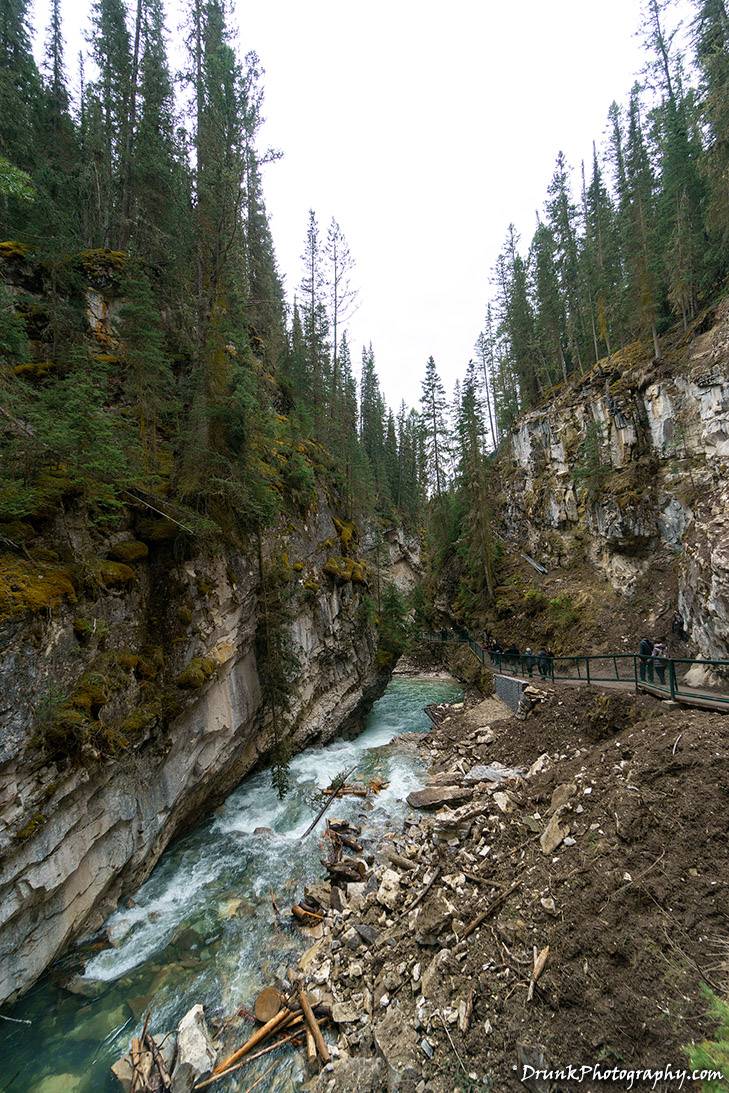
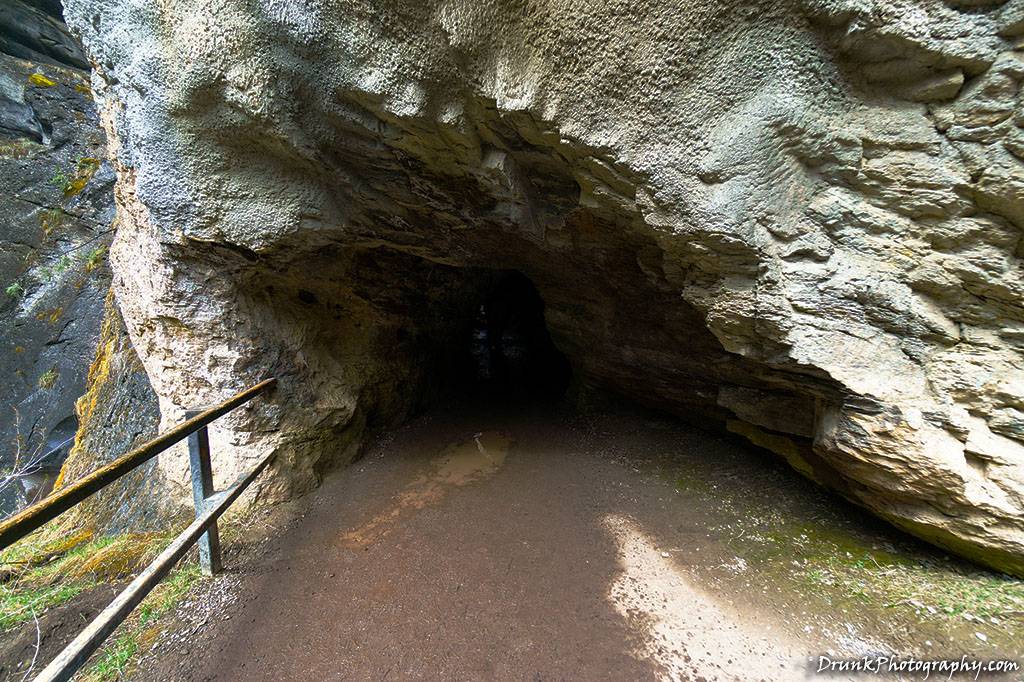
I also saw this tiny cave that many people quickly ducked their heads into, and then either didn’t enter or immediately did a U-TURN and came running right back out of. You have to hunch over to get through that cave, but I couldn’t initially see what was on the other side of that cave. I didn’t pay attention to it when I was up top, because I didn’t know that there was a cave there. I definitely was going to go in there to investigate what all the fuss was about. I initially entered the Johnston Canyon cave and this lady in front of me, suddenly turned right back and around and started pushing me wildly, apologizing, and as soon as she cleared my way BLAAAAAAAMMM gusts of wind hit me and my glasses got all watered down by mist and water sprays. There was a waterfall right through that tiny cave, what a cool surprise! It is the waterfall you see on the way there, but I didn’t know the cave would let you out, 10 feet from the damn thing. Wow! Great fun. The people were running back because they were getting soaked from the waterfall, and their cameras were getting wet. I just threw a rain-cover on the camera, and had a quick Neutral Density filter attachment I threw on the camera because I knew it was going to be too bright, especially as close as that cave was to the waterfall. I also knew that water would fly from the waterfall and flood the lens, so my filter system acted as a shield for that quite nicely. My system is one with an attachment you fasten to the lens, then insert the ND cards in it. This is what I bought, a Goja ND system, which now seems to be unavailable on Amazon, for some reason. Very good system for me though, I highly recommend it if you can find it. It was very exciting to fight the gust power of the Johnston Canyon waterfall, and trust me it’s powerful, and also try not to flood the camera with water and light at the same time, to try to keep the picture clear. Easier said than done, but was freaking awesome trying.
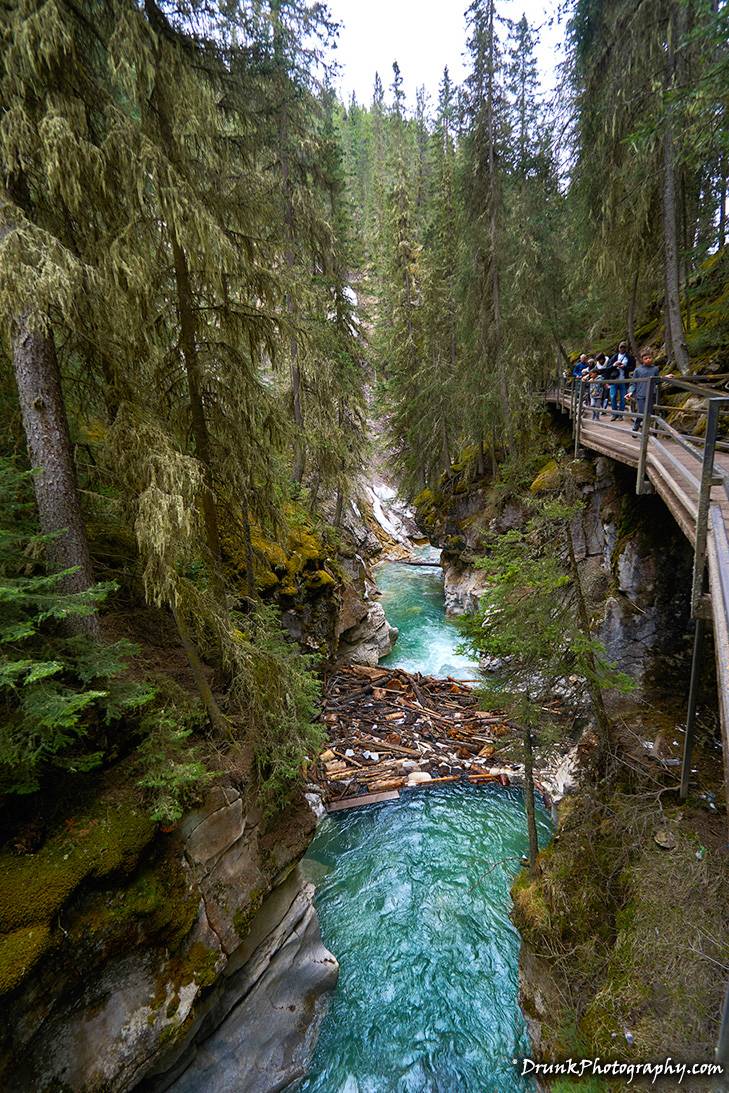
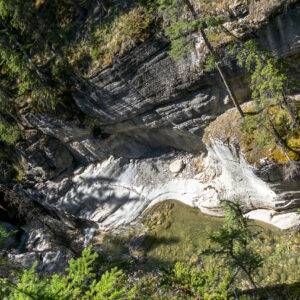
I got sprayed a lot, so know your camera is going to get wet and you might want to throw something over that lens. You’re going to want to have at least a monopod on hand if you can’t take a small tripod with you at this point. You’re pressed for space in peak times so don’t count on tripod use, people will bump into your setup and mess up your shots, especially the selfie stick zombies. I doubt you’ll be able to use that on bridges and the catwalks are way too slim. You’re body to body with people passing you, in both direction, in many places along the trail, so keep that in mind. Unless you go to this place early in the year, or later in the year, and really really early in the morning, I’d not consider the tripod. Monopod, lean up against it and the catwalk rails to pin it in place, and you’re good. You can do that same with a light tripod, as well though. Why? Because depending on when you go, remember it’s a canyon. It’s pretty freaking dark in there, and depending on your camera’s capabilities, the availability of light will be a challenge for the sensor and lens choice will need to be considered. For the up close waterfall pics, without that ND filter, I’d see NOTHING! I tried metering without the filter, everything was washed out.
Didn’t matter what aperture or shutter speed I set, it was too close for all of that reflected light on the water, mind you, it was very cloudy in Johnston Canyon. Trying to make the water look milky, WHATEVER! lol I did get some going, with the filter, but damn it was just not working like I wanted. Then on the other side, walking in the woods and shooting, there was no sun! What am I going to do? Use FLASH in the woods? No! I could see someone losing their minds starting out and not fully knowing how to work with ambient lights. Everything would have been grainy had I not had the right lens to open that aperture (my good old 18-200 mm doesn’t let me down EVER), so don’t be surprised if people with point and shoots had a better day out there than you with your DSLR and the wrong lens. It really gave me a good practice run, one I truly needed, and if you’re new to photography, I suggest you take this on as a project for yourself. I think the challenge of people in the way was the hardest, so next time I’m going early to Johnston Canyon. If you go early, before crowds come, you’re probably going to need to put aside 2 hours if you want to go to the upper (and back) plus the lower (and back), before noon. The lighting conditions, versus what you want to see, versus the constant pushing of people while it’s incredibly SLIPPERY there… let’s see how you do.
As always, the finished products can be found on the main site of www.drunkphotography.com.